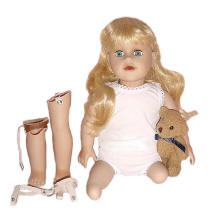
My prostheses attach to a strap that I put around my waist.
See Below for Detailed Instructions:
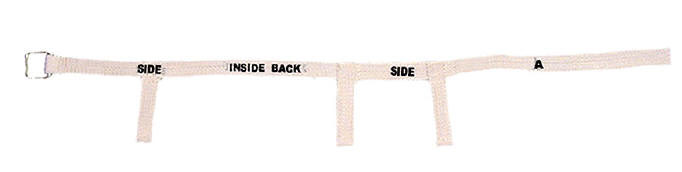
- Take the long strap and lay it
out on a flat surface so the letters are facing down. The words "INSIDE BACK"
and "SIDE" should be
facing you.
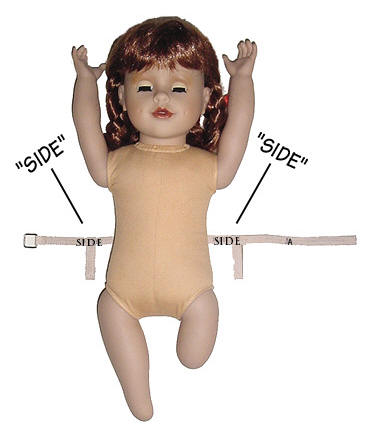
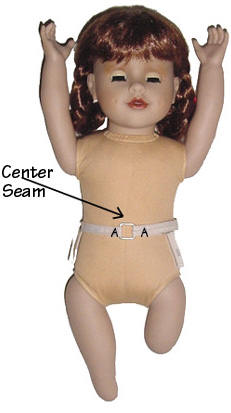
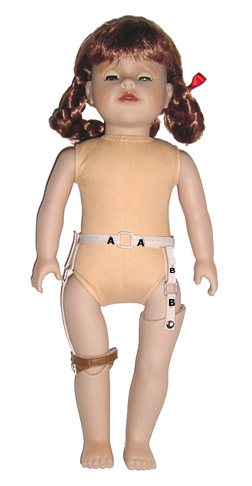
- Lay the doll on the word "INSIDE
BACK" and pull the straps around her waist through the buckle
and Velcro it *tight*. Strap "A" to "A" The buckle should be exactly
on the front seam of her body.
- For comfort, socks are often used
to cushion the leg against the prosthesis. Place one sock
on each leg before adding the prostheses if you want the doll to
be most comfortable! Socks are folded in to make it 2-ply
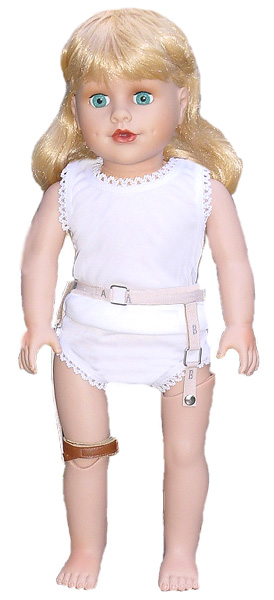
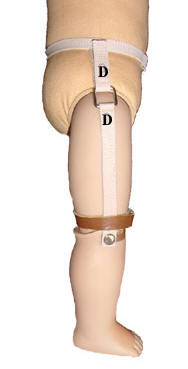
- Take the shorter right prosthesis and put it
on her right leg, again tight. Just like a real prosthesis,
these will come off if they are not tight enough and that will
make it harder for her to stand. Pull the Velcro straps
through the buckle and up - the letter "D" should match the
letter "D" on the waist.
- Pull the leather strap around the
knee and Velcro it OVER the light tan strap.
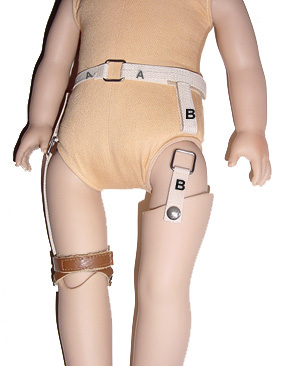
- Take the longer leg and put it on
her left leg the same way you did with the right leg.
Strap "B" to "B"
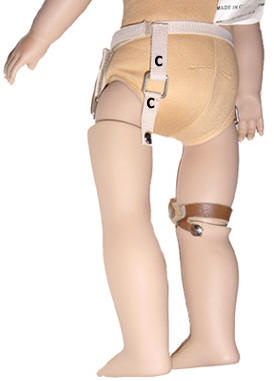
- Roll the doll over. Pull
the strap "C" through the buckle "C" and back up. Strap
"C" to "C"
The letters "A"
"B" "C" and "D" should all match up.
**Just like a real
prosthesis, these will come off if they are not tight enough and
that will make it harder for her to stand by herself. To tighten,
put the leg on straight, pull the belt strap up above her waist
and secure the Velcro on all straps. With some practice, your doll
can stand without her crutches and you will learn the best fit for
her legs. |